DIY: Hang plates on wall – Mexican wall decoration
Want to enrich your interior with unique ceramic plates and Mexican treasures? With this DIY guide, you can easily and safely hang your colourful plates on the wall.
What you need to hang plates on the wall
- Breakfast plates Mercado de Flores blue and/or green
- Dinner plates Mercado de Flores blue and/or green
- Plate sealife fish and/or plate sealife turtle
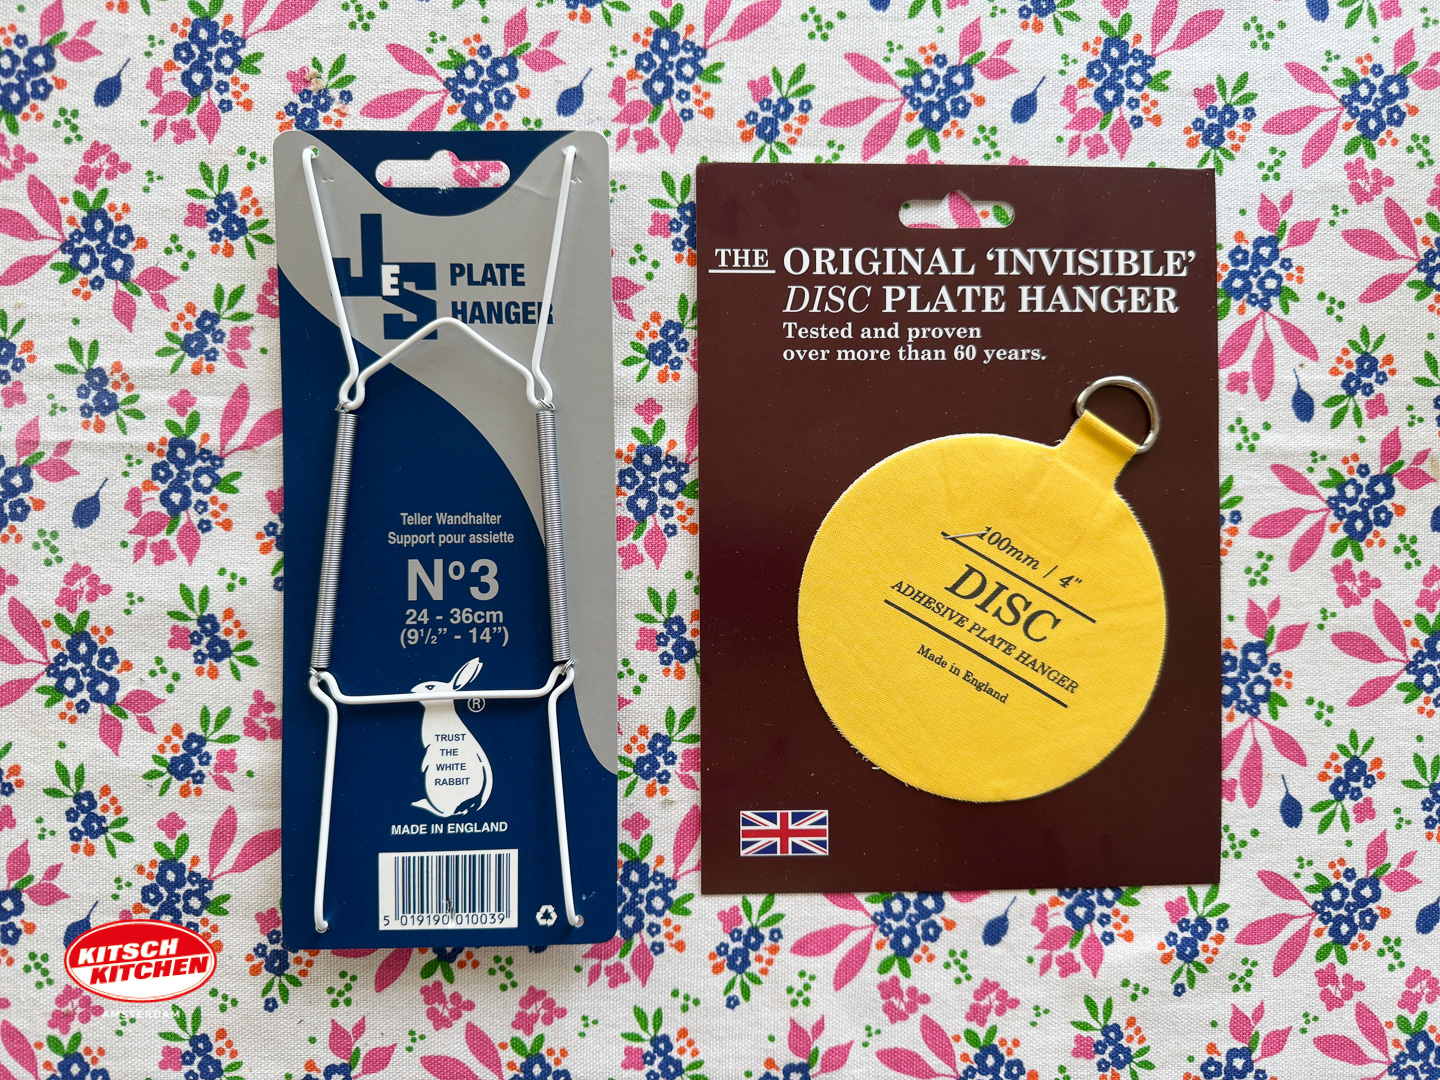
- DISC Adhesive Plate Hanger (140 mm / 5½” and 200 mm / 8″)
- Cleaning cloth
- Water and scouring agent
- Tape measure
- Pencil
- Hammer and nails or hooks (or drill and screws and dowels depending on the wall)
Follow these steps to hang plates on the wall!
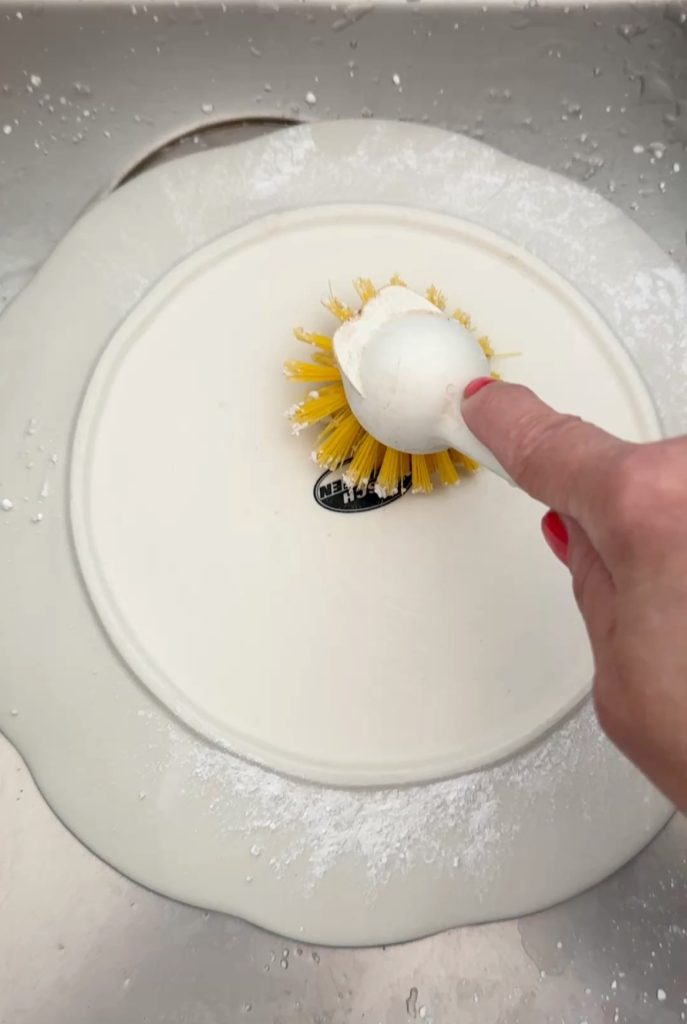
Step 1: Cleaning plates
Clean the back of your plates with a cloth and abrasive. Then dry thoroughly so that the surface is completely dry.
Step 2: Attach DISC hanger
Moisten the glue side of the DISC with water and press firmly onto the back of the board. Make sure the hanging eye points upwards.
In this example I also used Jes plate hangers, you can just click them around your plate, make sure you buy the right size for your plate.
The pro of this system is that you can change plates and reuse it and you don’t need to clean or wait for the glue to dry. The con is you see the white hooks around the edge of the plate.
Step 3: Drying and checking
Let dry for at least 24 hours. Then carefully check that the DISC is firmly attached.
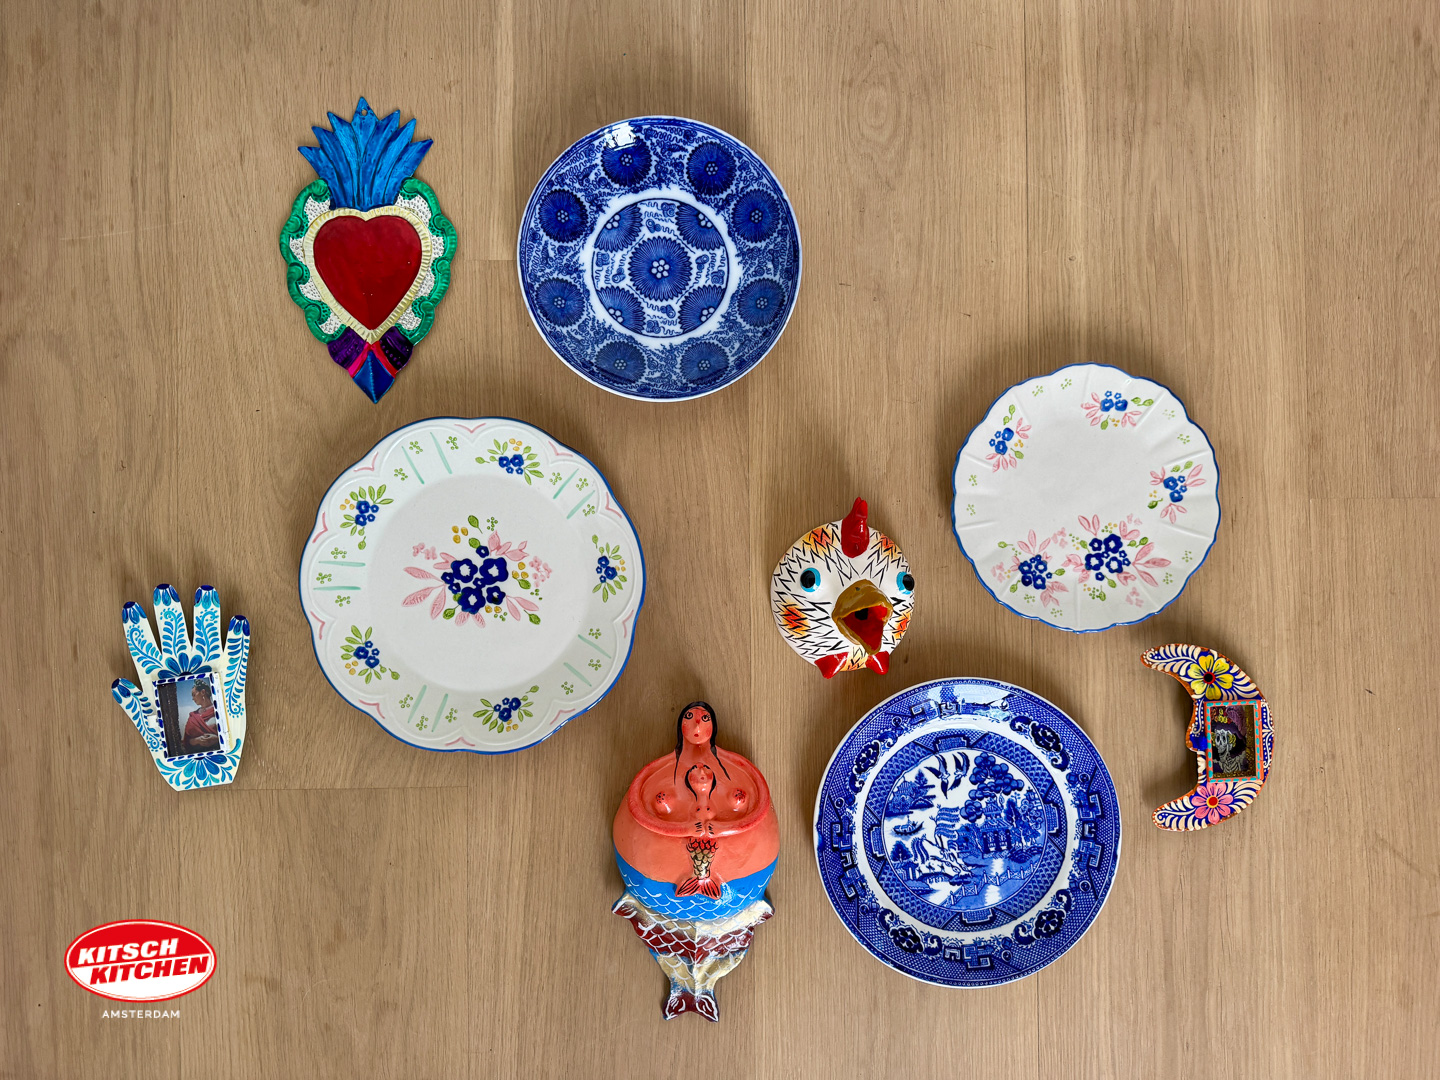
Step 4: Test out composition
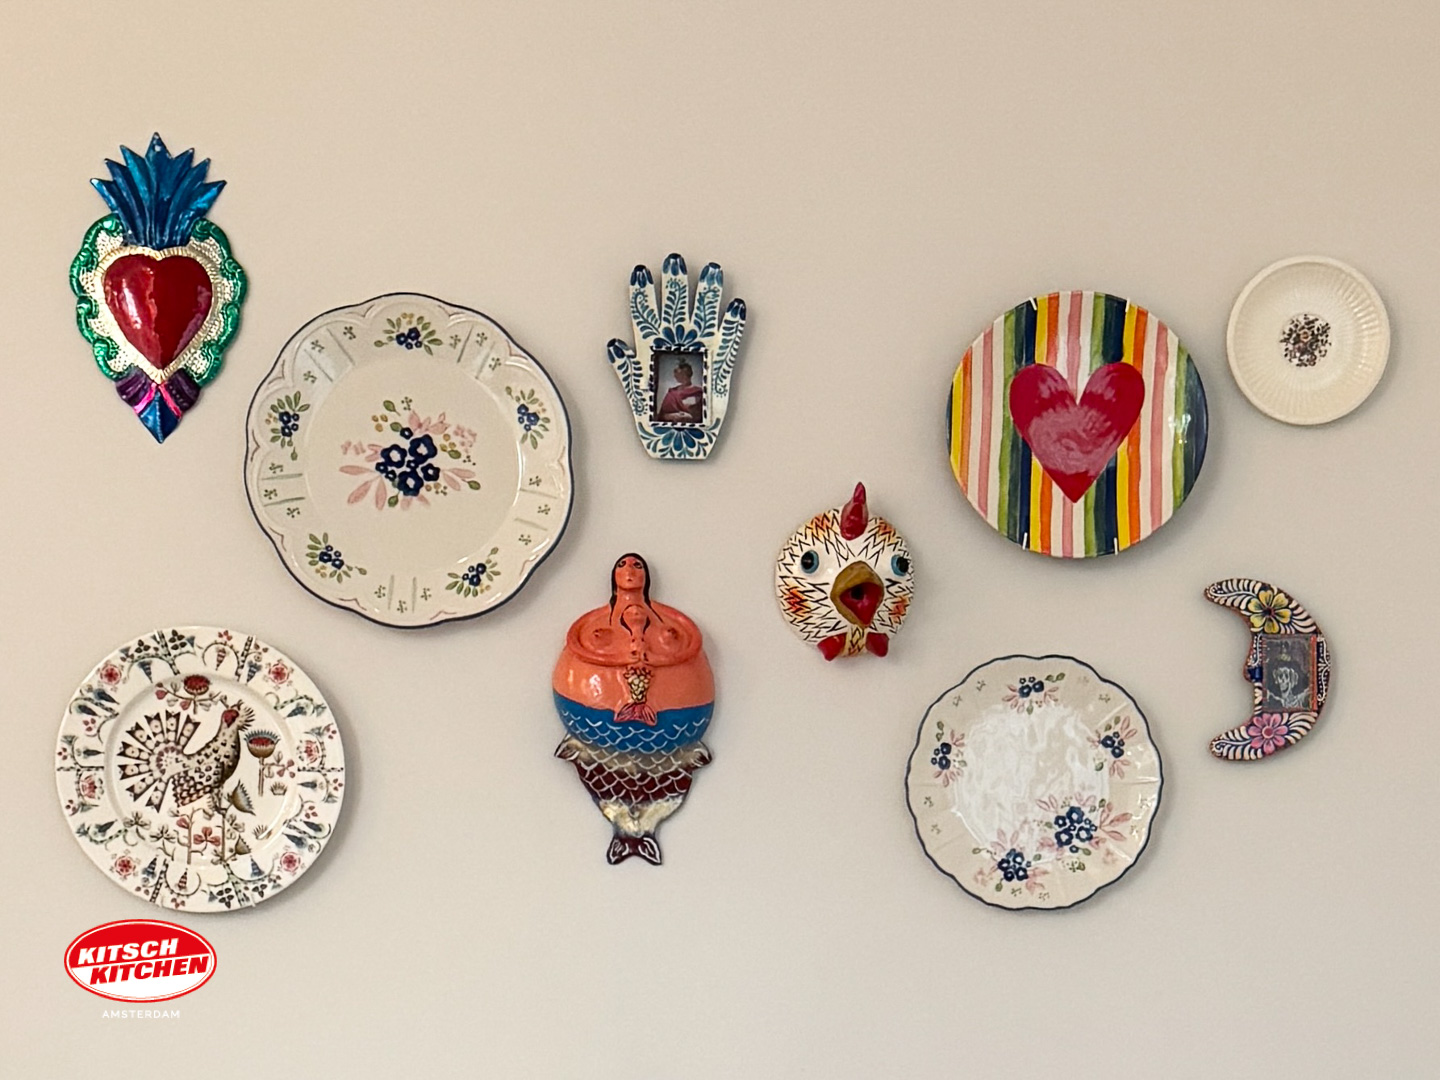
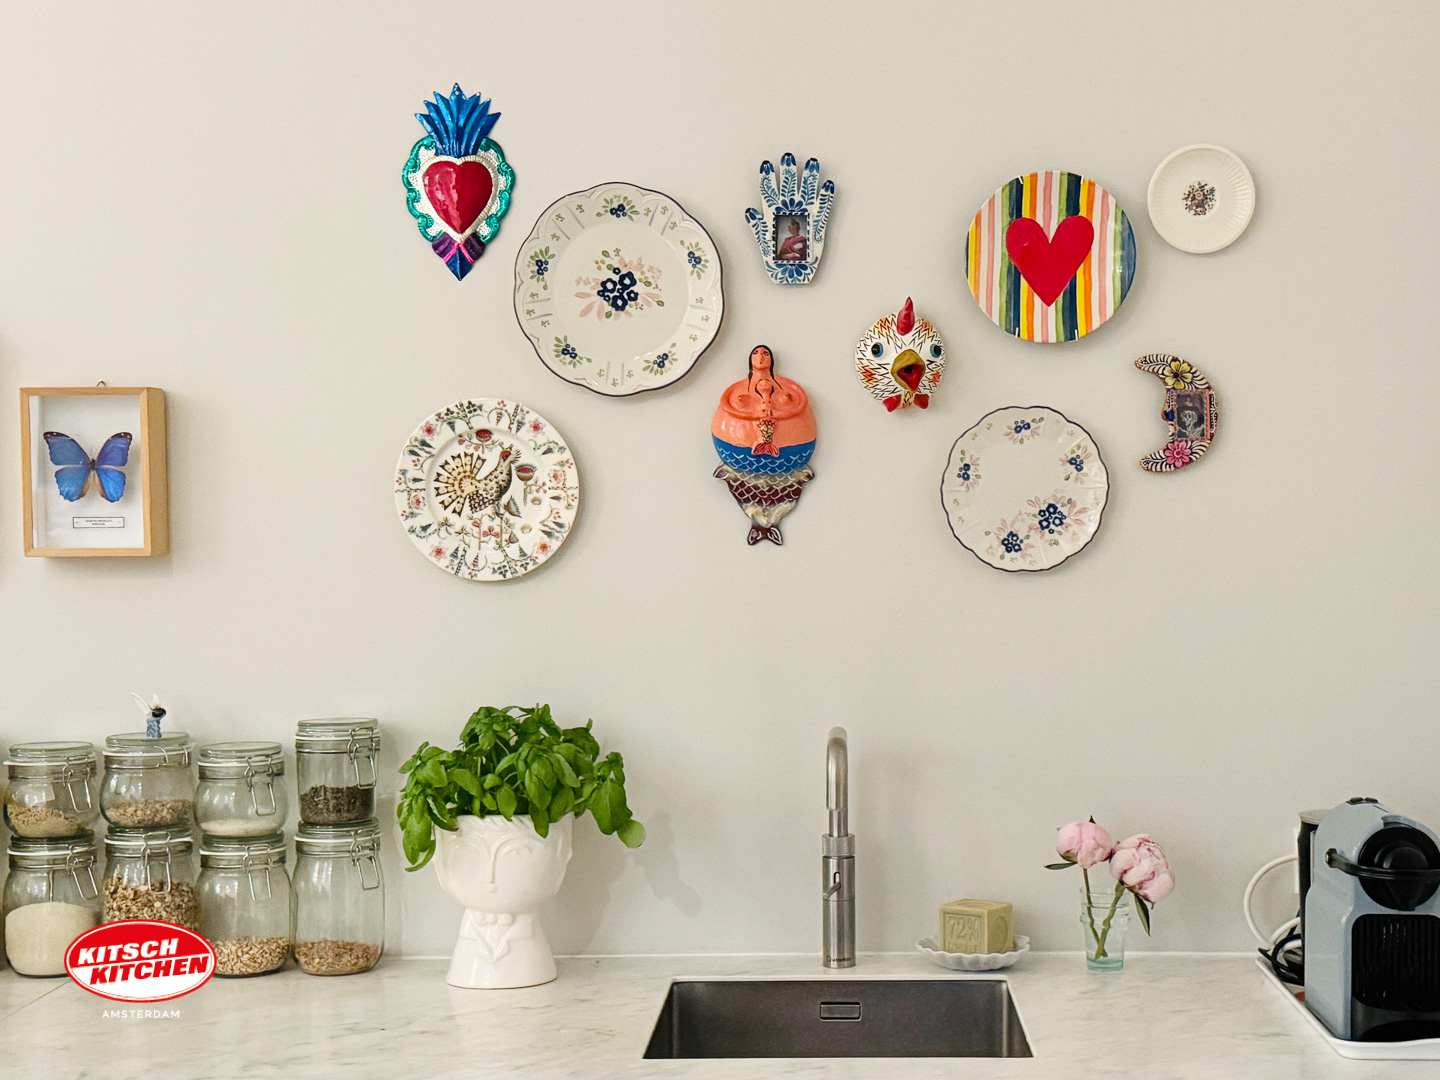
Lay the plates and other items on the floor and see how you want the composition. Below you can see how I change the composition with different plates (blue vs white).
You can also outline the plates and items on paper and then cut them out. You then stick the papers on the wall with wasi tape to check out the composition.
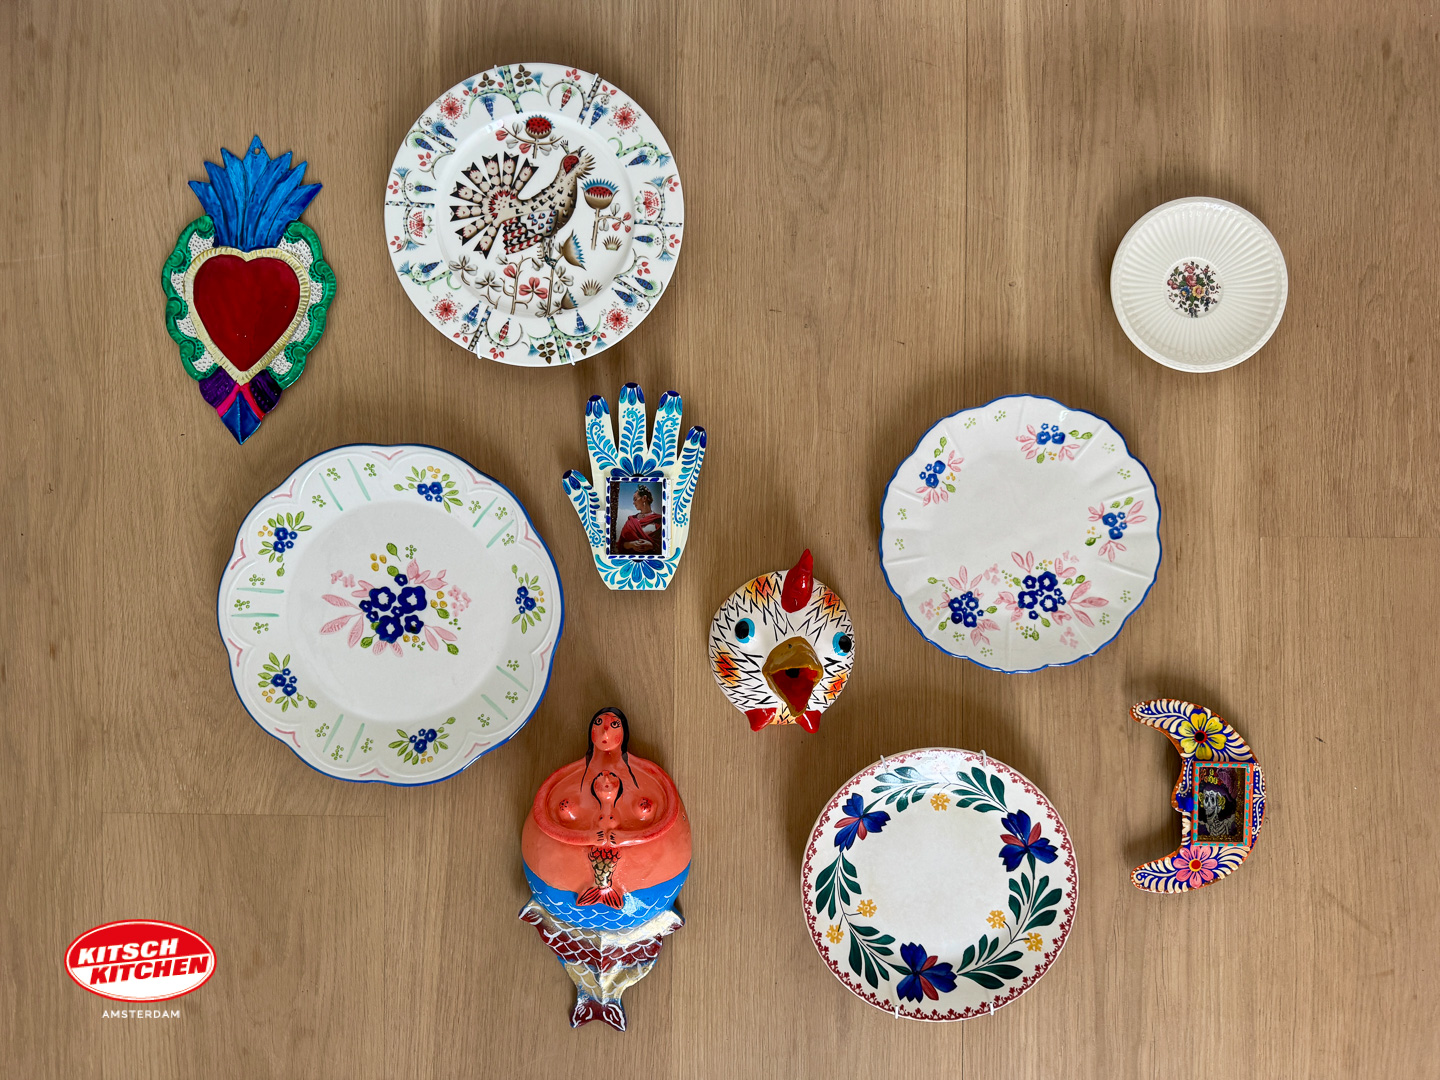
Step 5: Hang the plates
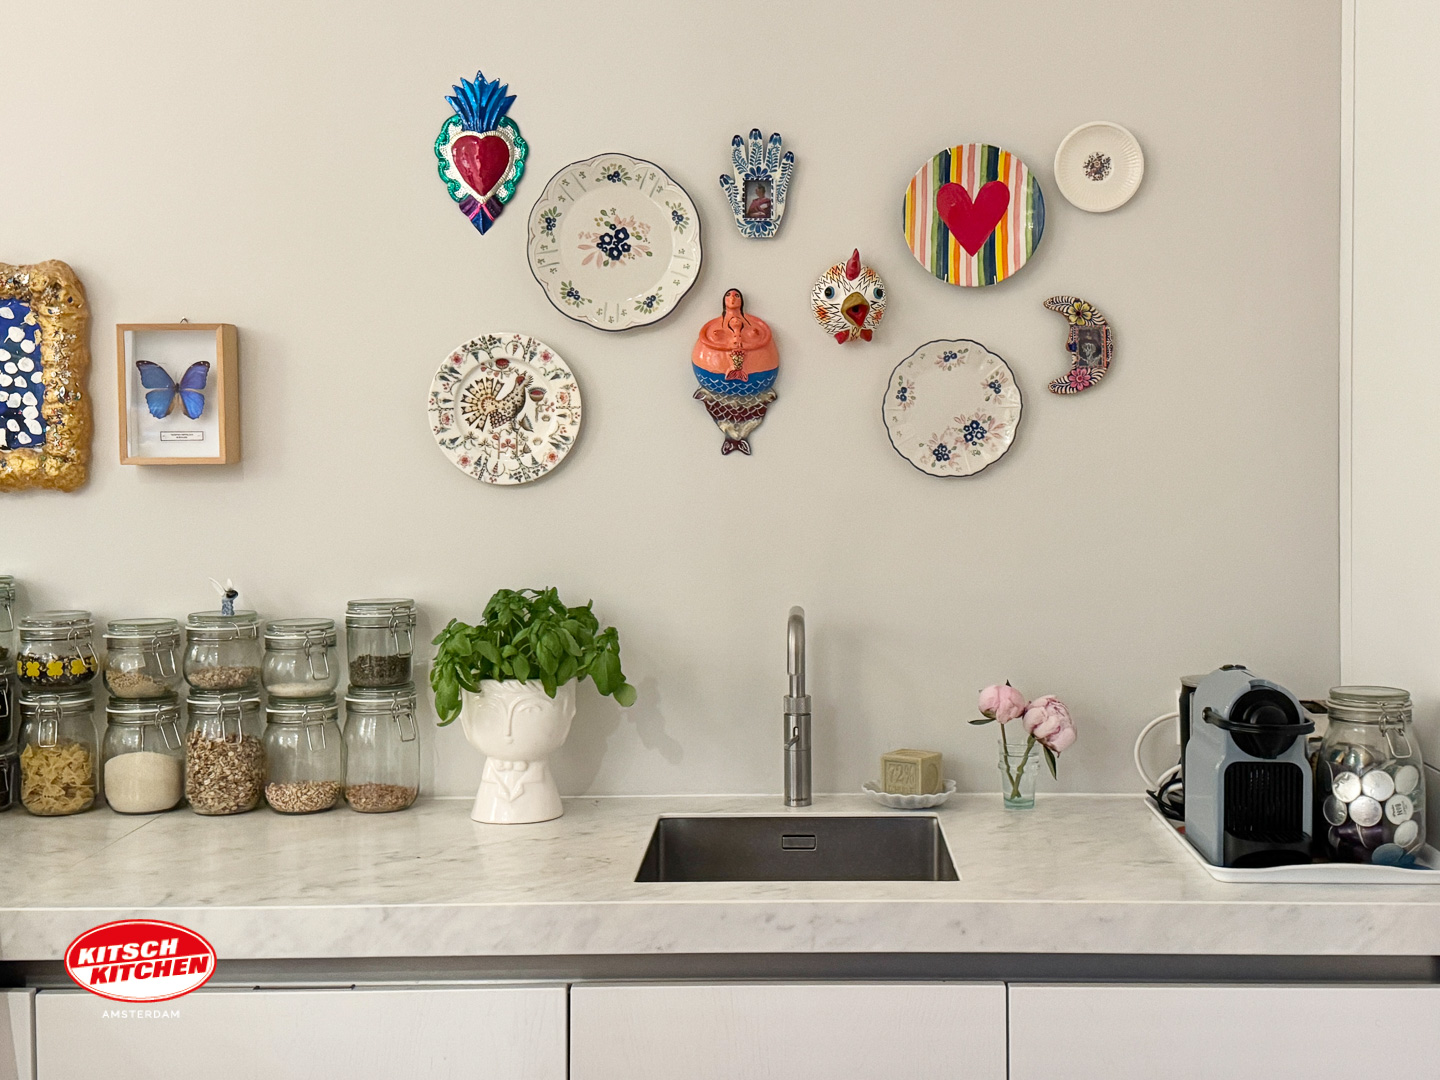
Use the tape measure and pencil to mark spots on the wall. Attach nails or hooks and carefully hang the signs in place. I used the Mercado de Flores plates in blue, and added I plate I recently made in a ceramic store and a plate I got as a gift for my birthday from a friend.
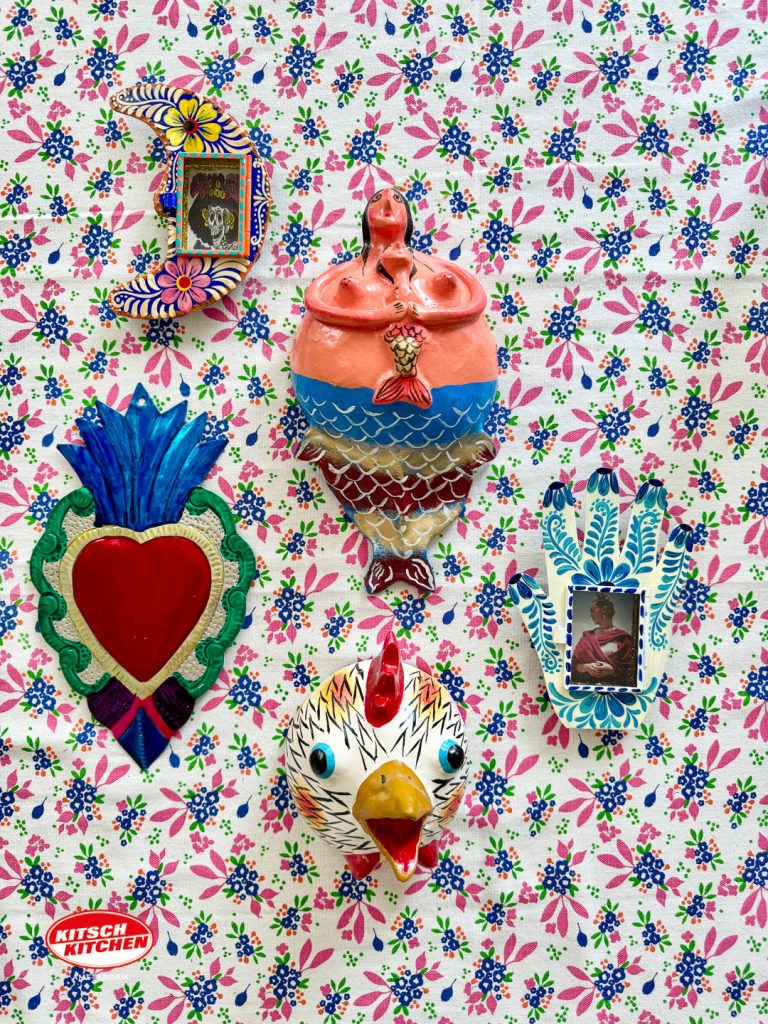
Step 6: Add Mexican ambience
Complete your wall decoration with Mexican treasures or small art objects. These atmospheric decorations are available at Kitsch Kitchen on Haarlemmerdijk 48 in Amsterdam and with the fun wicker and other undecorators via the webshop kitschkitchen.nl. Play with different sizes and hanging heights for a dynamic look.
Enjoy your Mexican wall decoration!
Now you have a beautiful wall with colourful plates and Mexican decorations. Share your result with #Kitschkitchen #MercadodeFlores #sealife and don’t forget to tag us!